VSeed, an elegant data composer, transforming complexity into simplicity.
!!!###!!!title=4-How to Contribute to a Demo——VisActor/VRender Contributing Documents!!!###!!!!!!###!!!description=---title: 4. How to Contribute Demokey words: VisActor, VChart, VTable, VStory, VMind, VGrammar, VRender, Visualization, Chart, Data, Table, Graph, Gis, LLM---!!!###!!!
Create a Branch
The default branch for VRender is the develop branch. Whether it's for feature development, bug fixes, or documentation writing, please create a new branch and then merge it into the develop branch. Use the following code to create a branch:
// Create a branch for documentation and demo
git checkout -b docs/add-funnel-demo
Find or Create an Issue
In principle, we require that each PR has a corresponding issue. Before starting development, please make sure there is a corresponding issue that has not been claimed.
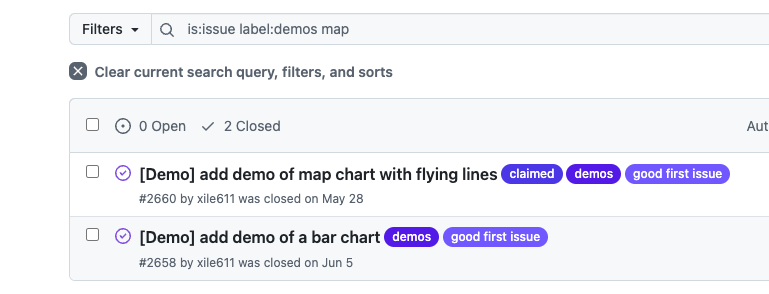
Search for Demo Issues
You can search for demo-related issues using the following method:
label:demos
Some features may be associated with the doc label, so you can further check if the issue is purely a demo task.
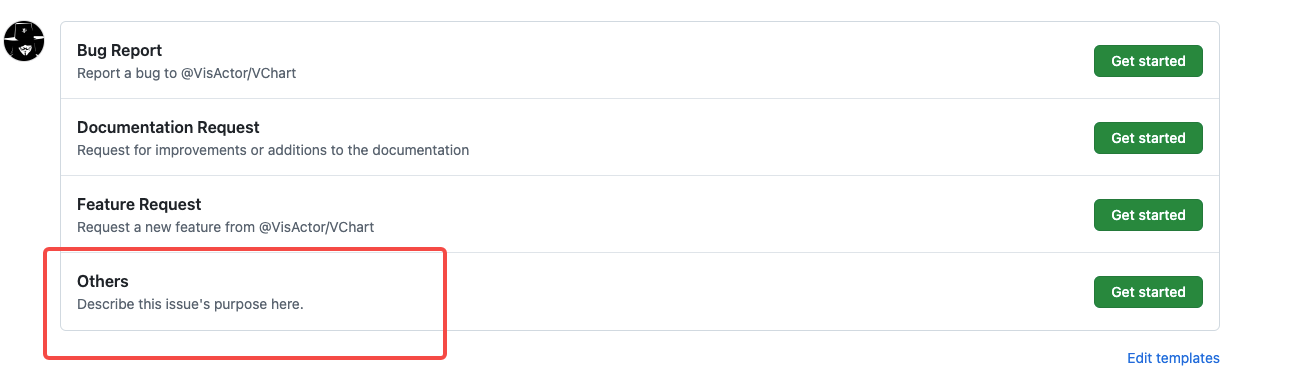
Create a Demo Issue
Click on "NEW ISSUE", open the issue selection page, and choose "Others".
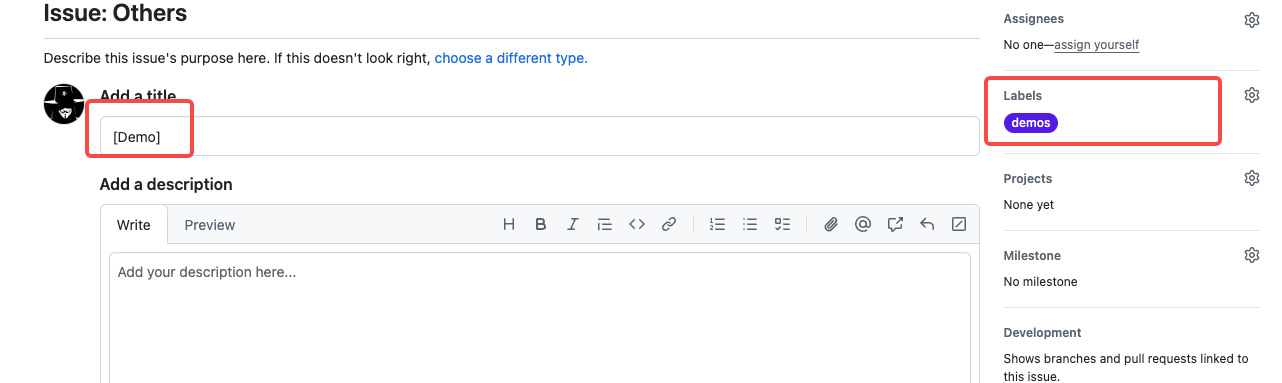
Fill in the relevant information for the document issue you want to submit, and tag it with the "demos" label.
Claim the Issue
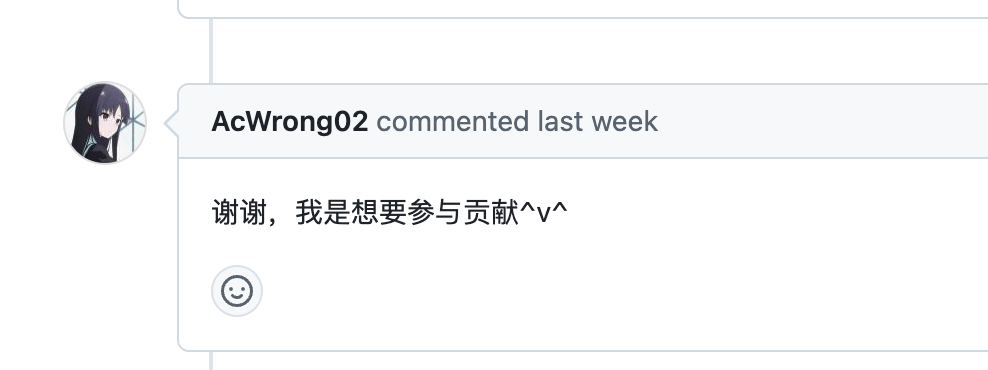
If you want to submit a demo or fix a demo bug, you can leave a message under that issue to claim it. The administrator will contact you, confirm, and then assign the issue to you.
For example:
Create or Modify Demo
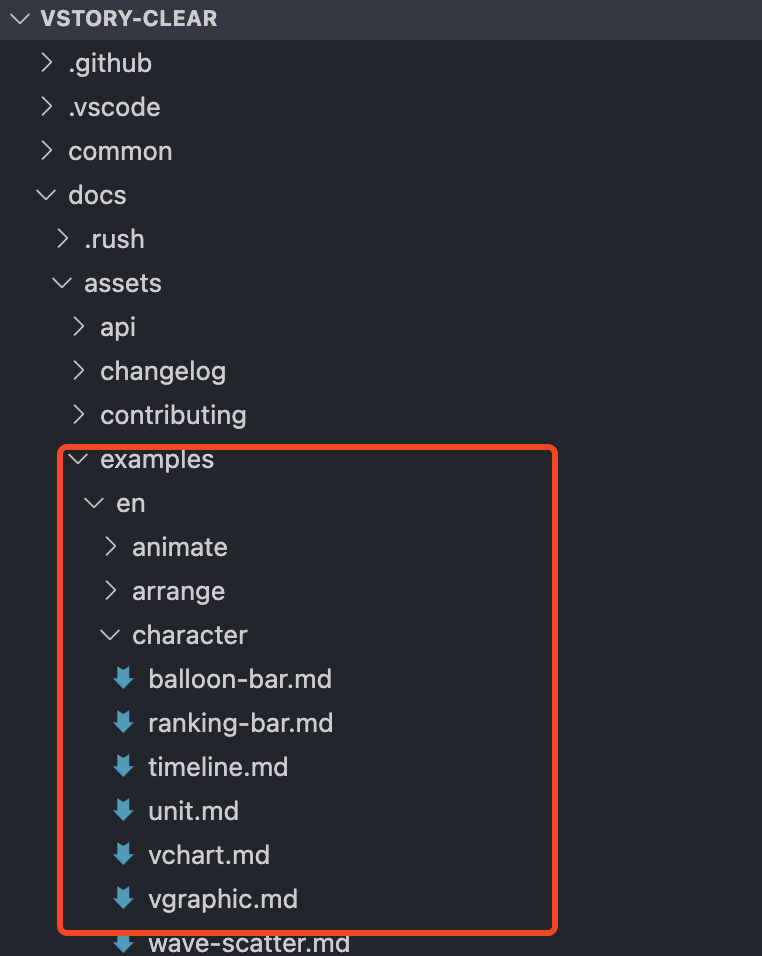
The location of VRender documentation and demos in the project is as follows (examples):
Taking the example document of basic-arc as an example (currently one example contains both Chinese and English versions, located in the zh & en paths):
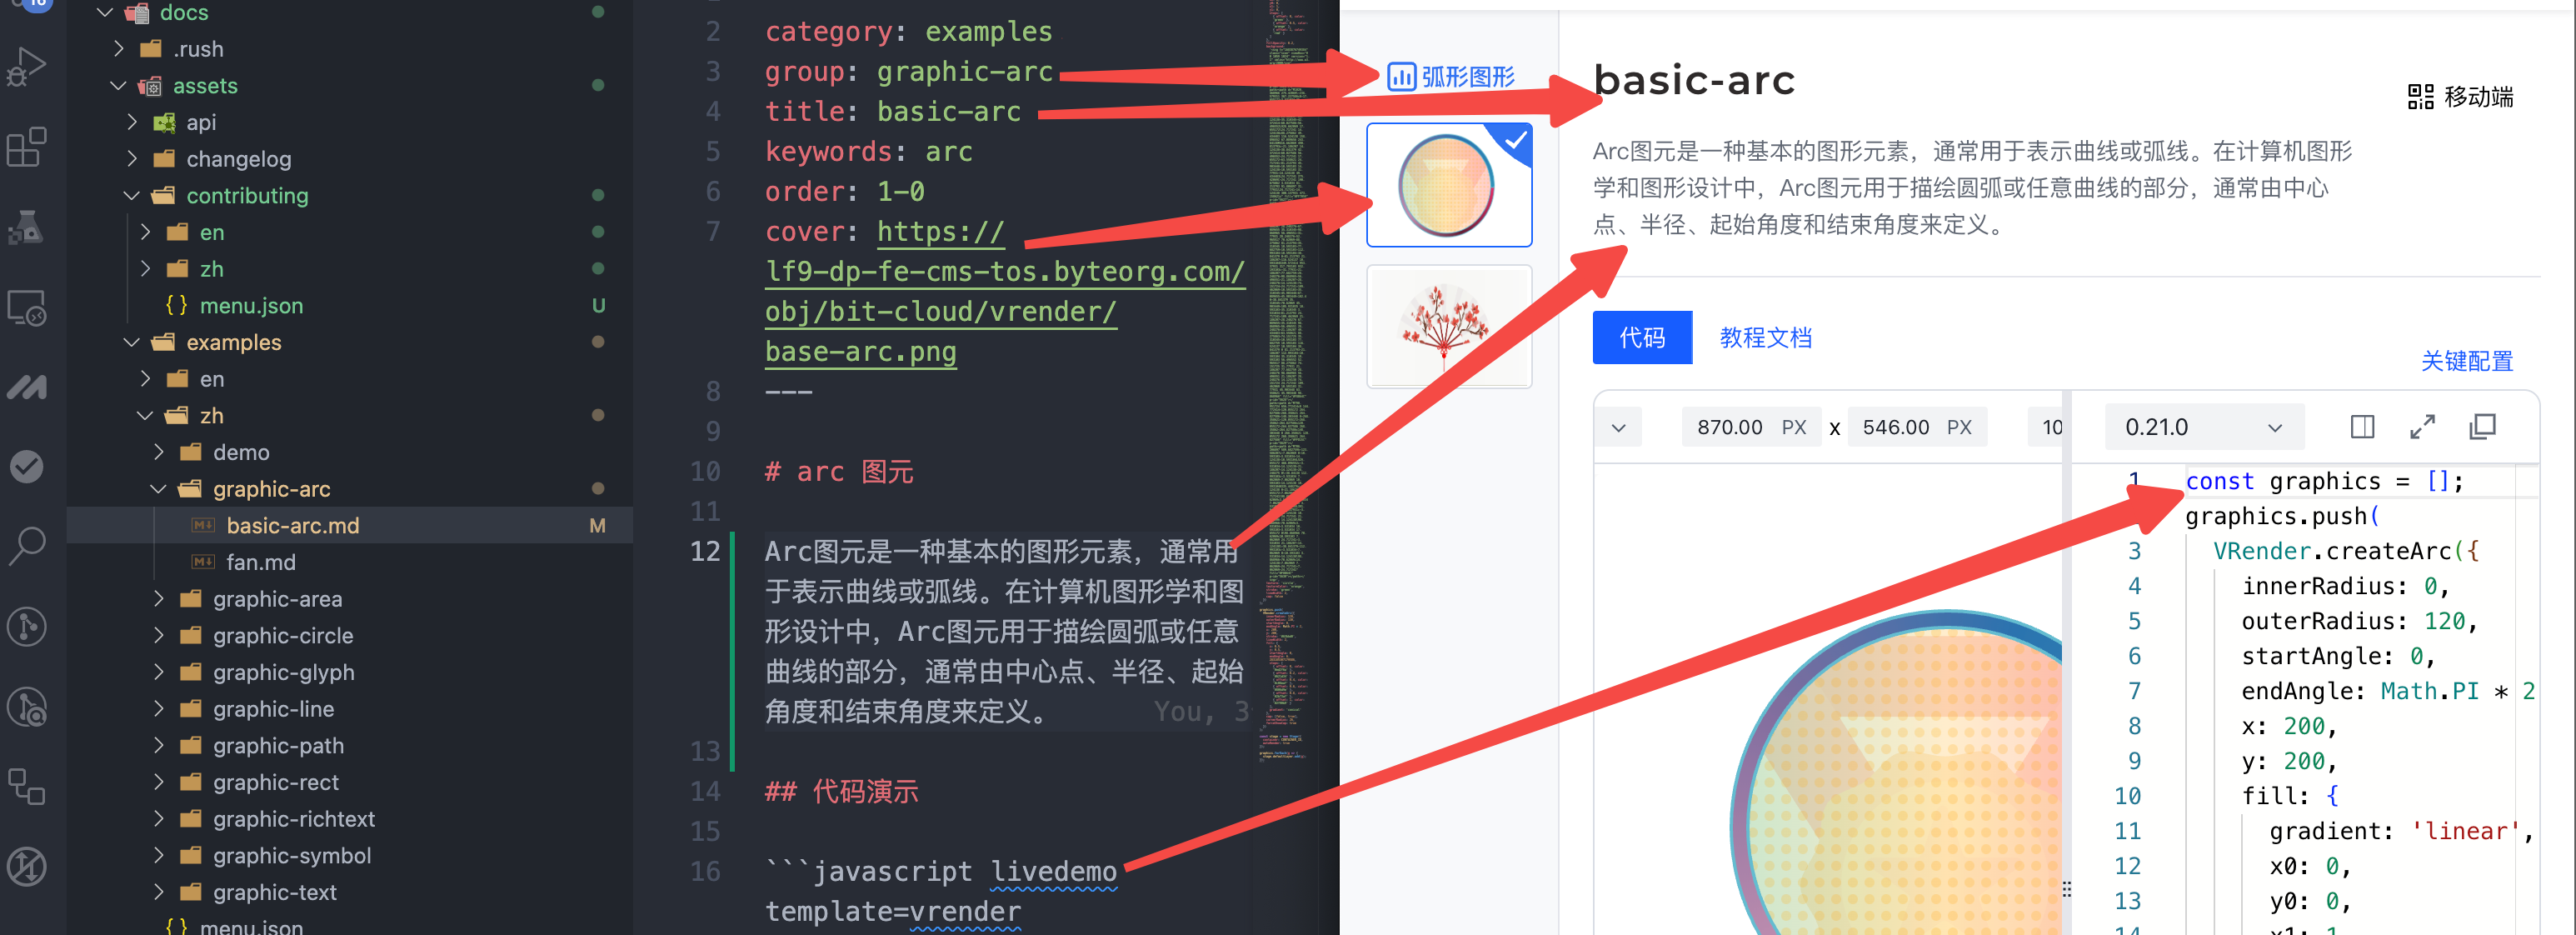
The example Markdown content is divided into several parts:
Metadata: Defines the attributes of the example content, including chart category, cover image, keywords, etc.
Title: The content under the first-level title corresponds to the description of the example.
Key Configurations: Key configuration explanations included in the example, which will be displayed in the "Key Configurations" section on the example page.
Code Demo: The specific code content executed in the example, currently only supports native JavaScript code.
// Code example
The fields defined in the metadata of Markdown are:
group: The classification information of the example, describing which chart category the current example belongs to.
title: The title of the example.
keywords: Keywords of the example.
order: The sorting basis of the example under the same group.
cover: The cover image of the example.
tutorial: Link to the tutorial (the default example tutorial will jump to the tutorial corresponding to the example group).
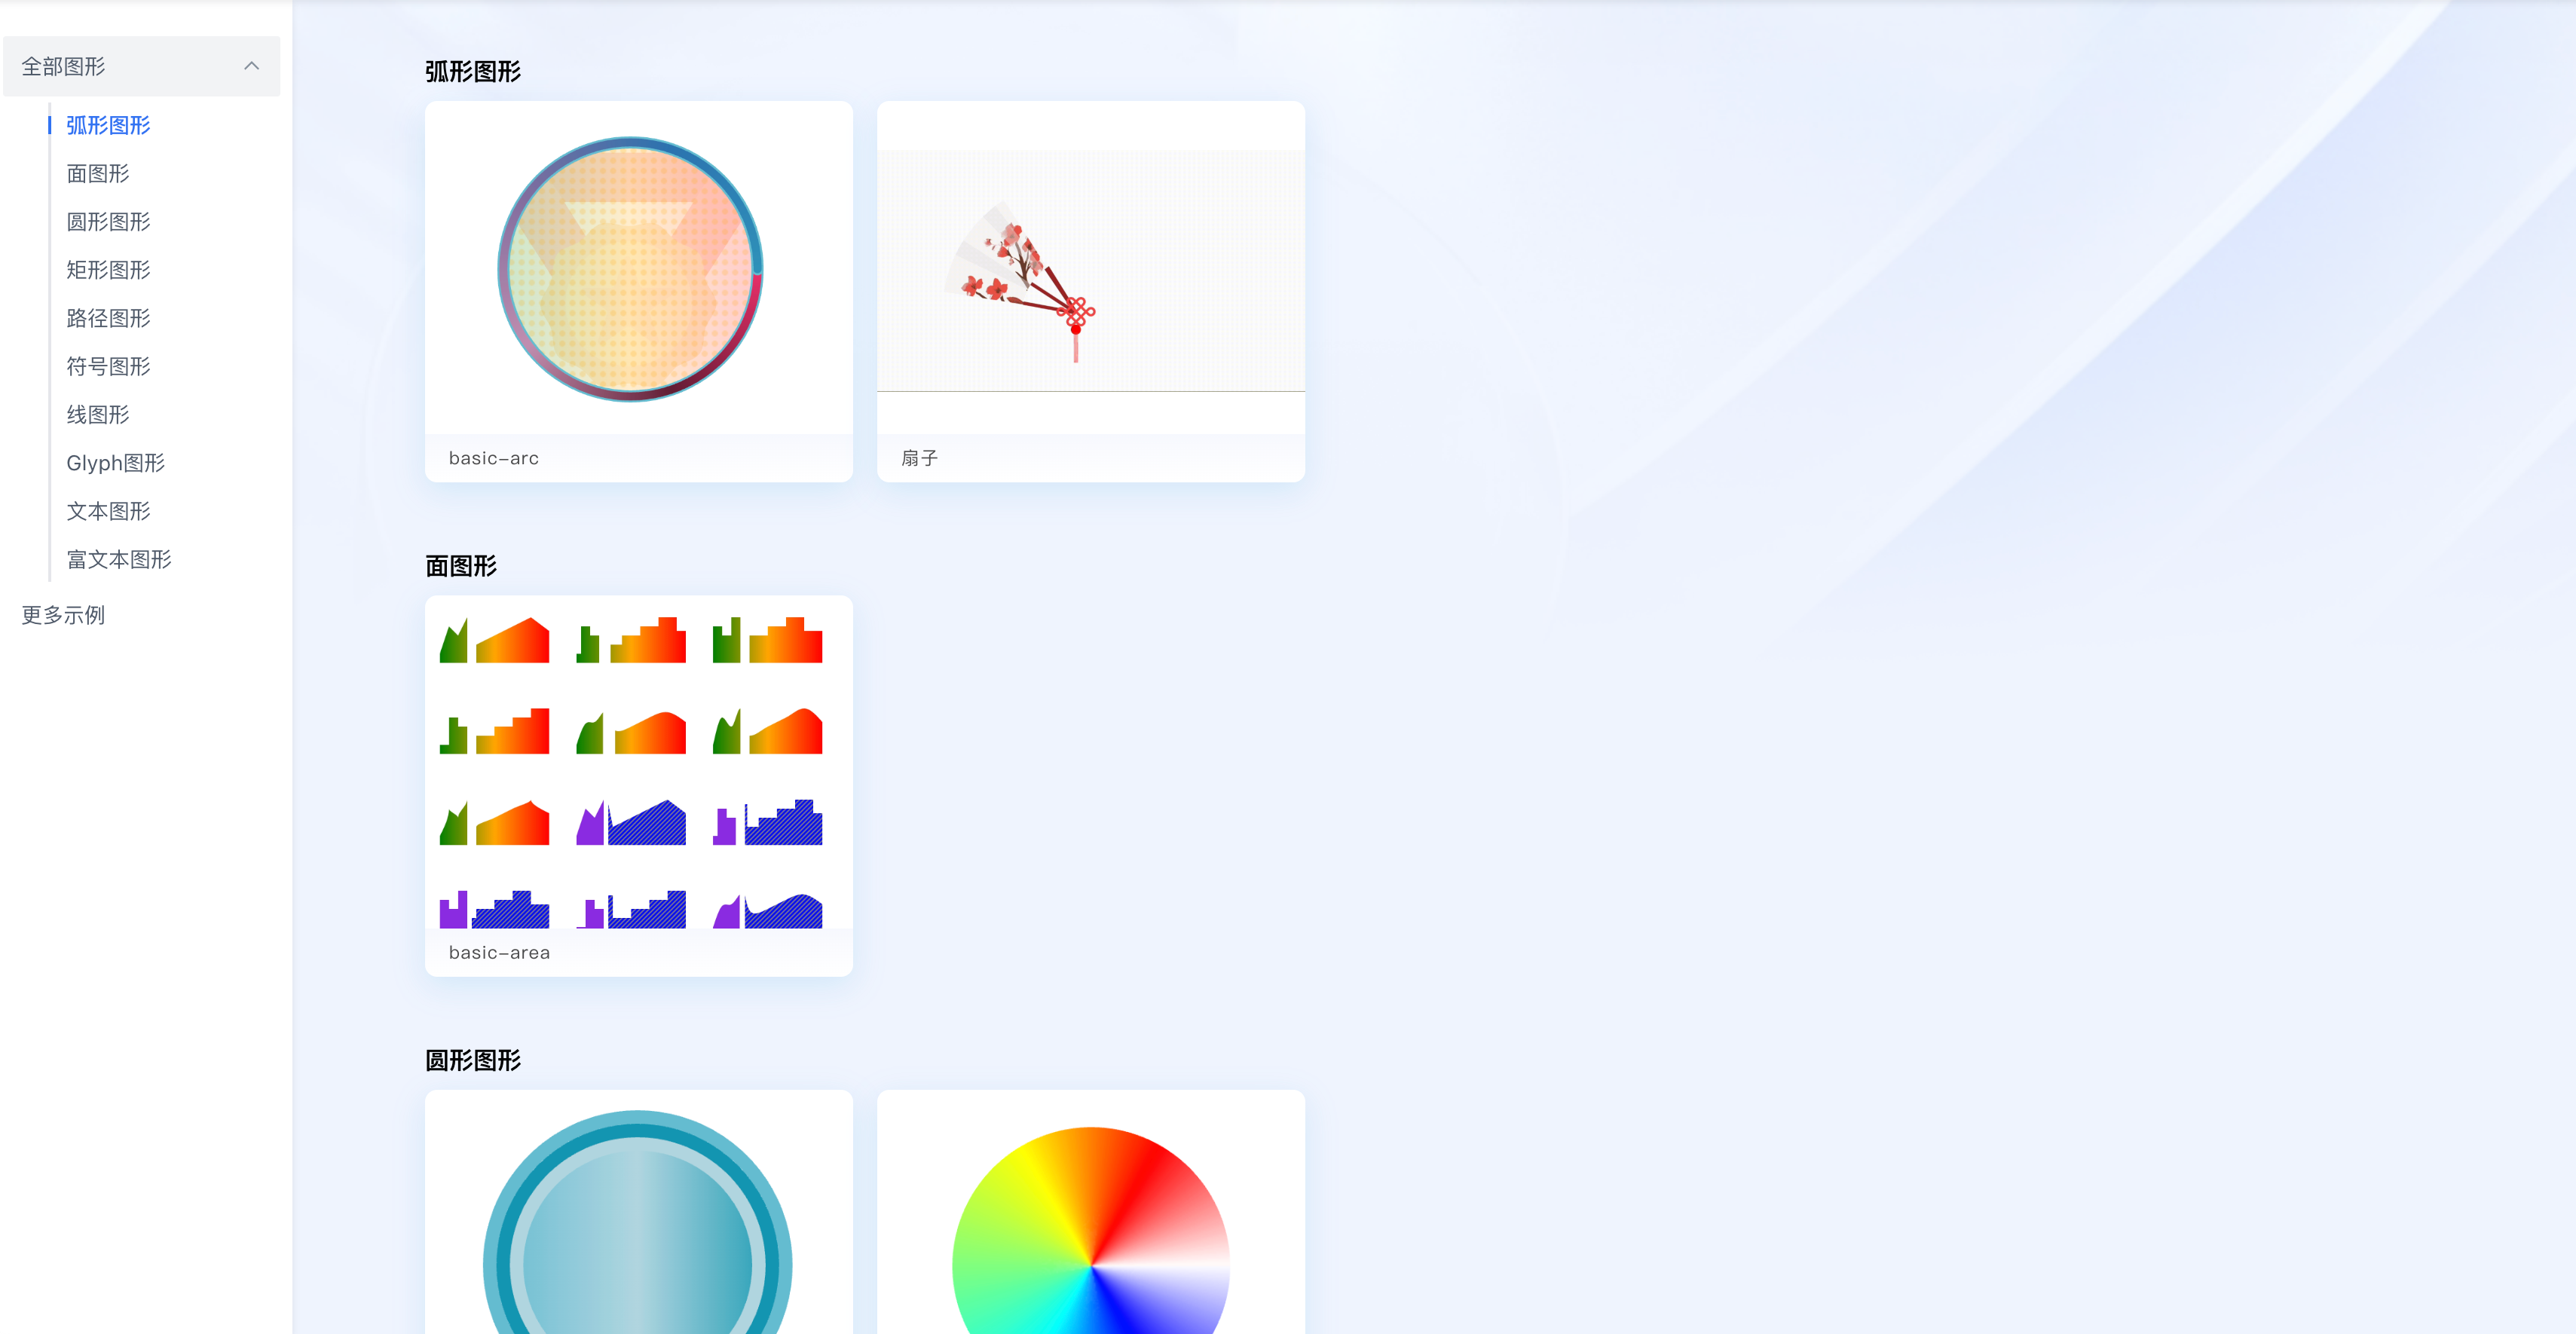
Currently, the group of the chart example contains multiple categories, such as graphic-arc, graphic-area, etc., corresponding to the categories under all charts in the VRender example gallery. You can refer to existing example documents to fill in the specific category fields.
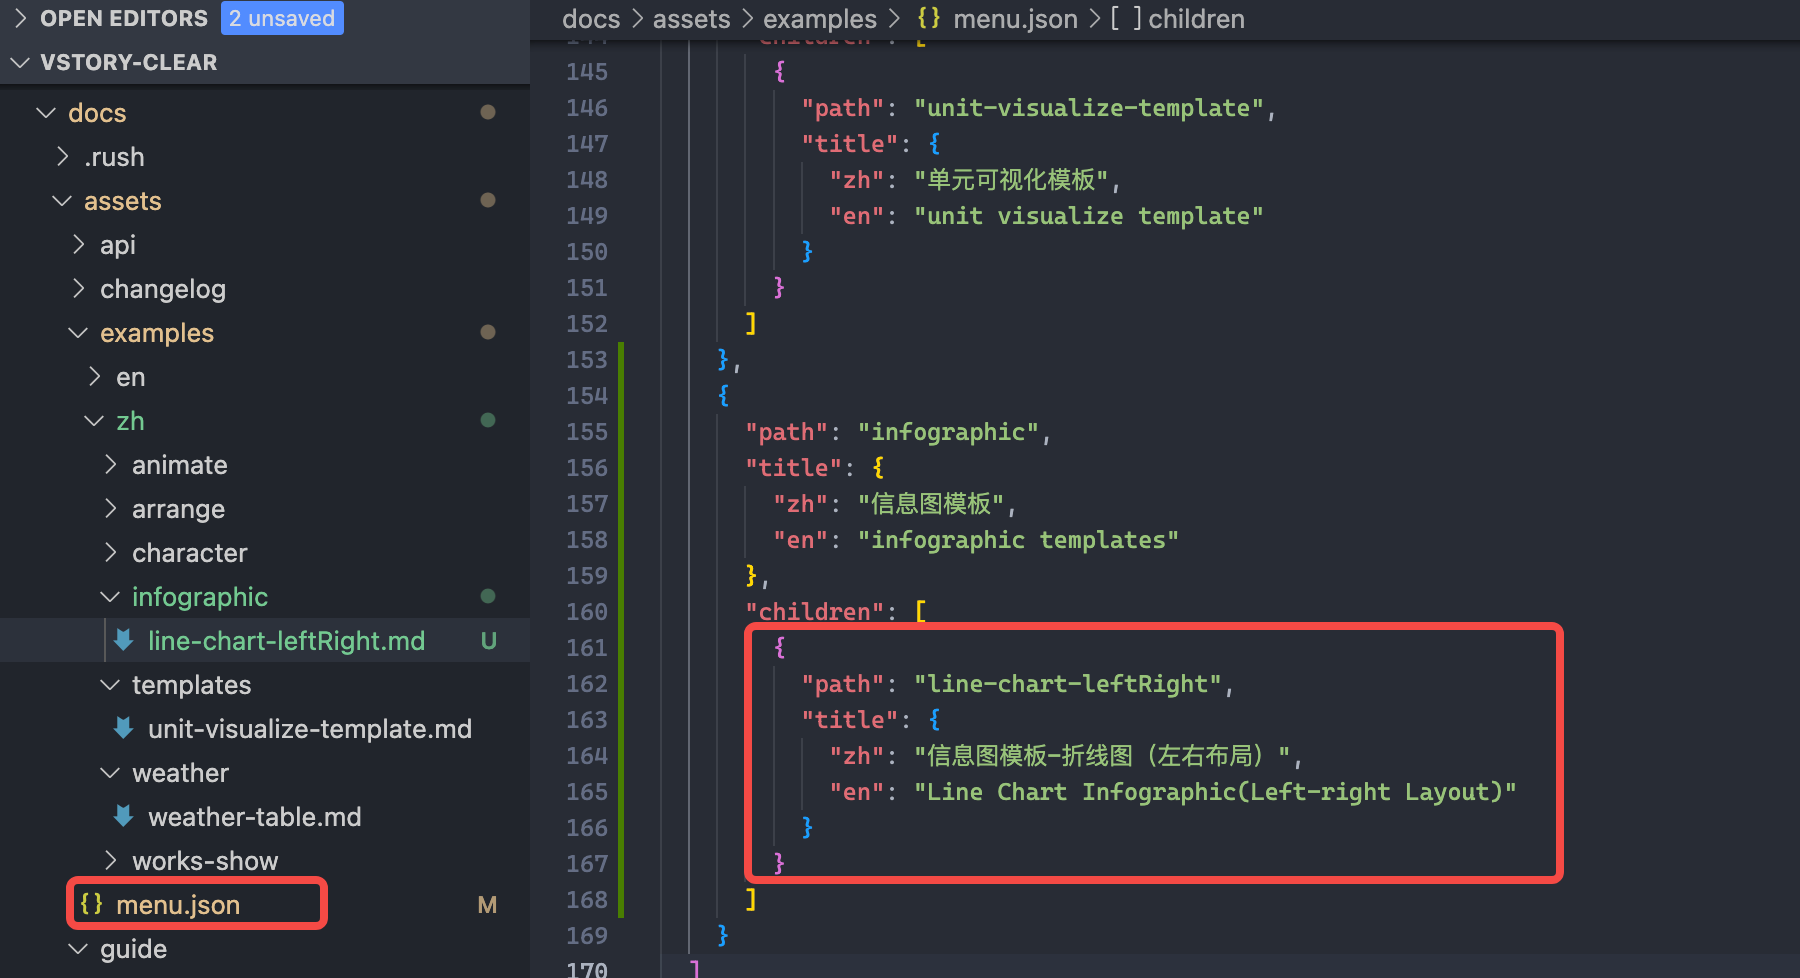
After completing the new demo writing, you can add the demo path and title to the docs/assets/examples/menu.json file:
For image resources that need to be uploaded during demo creation, please refer to the chapter 6. How to upload image resources.
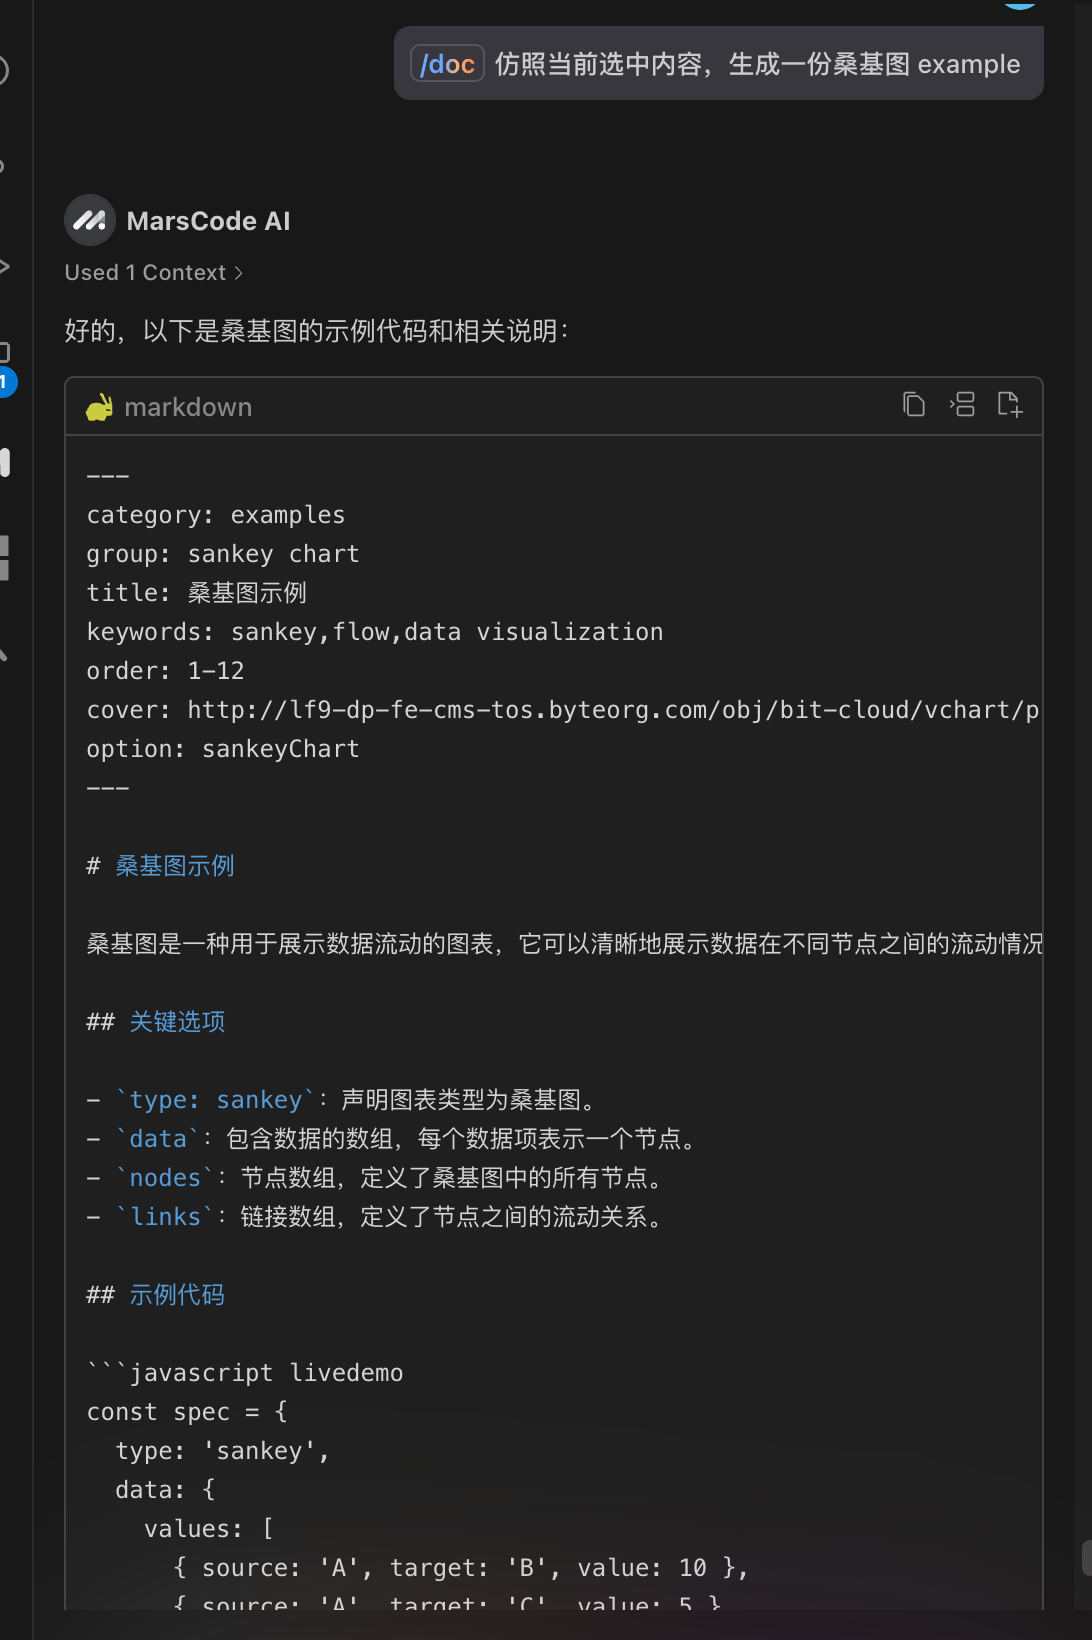
Use Marscode AI Programming Assistant for Demo Writing
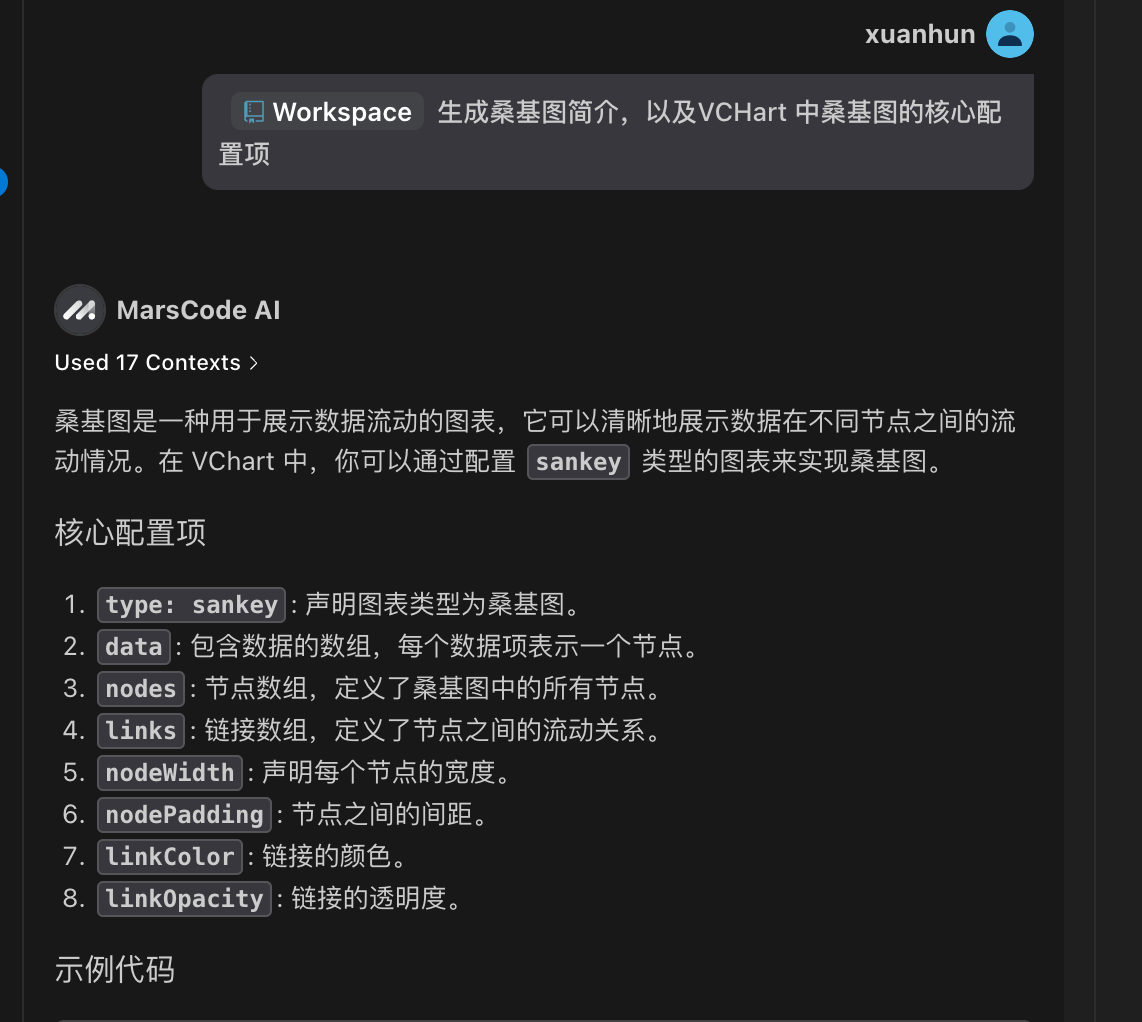
With the help of the Marscode AI Programming Assistant, you can provide comprehensive assistance throughout the document creation process.
Here invoke #Workspace, then ask a question, select the content of an example document, and request it to generate a new example document based on that.
You can continue to adjust the details based on this generated framework.
5.2 Generate Descriptive Text
The descriptive text for each demo can be generated first using Marscode, and then proofread and adjusted. For example:
5.3 Generate Example Code
To better explain the principles and usage, it is usually necessary to provide a demo that can be actually run. You can use the code generation capability of Marscode to generate example code for us. However, the code generation capabilities of various AIs cannot guarantee accuracy, so further verification is needed.
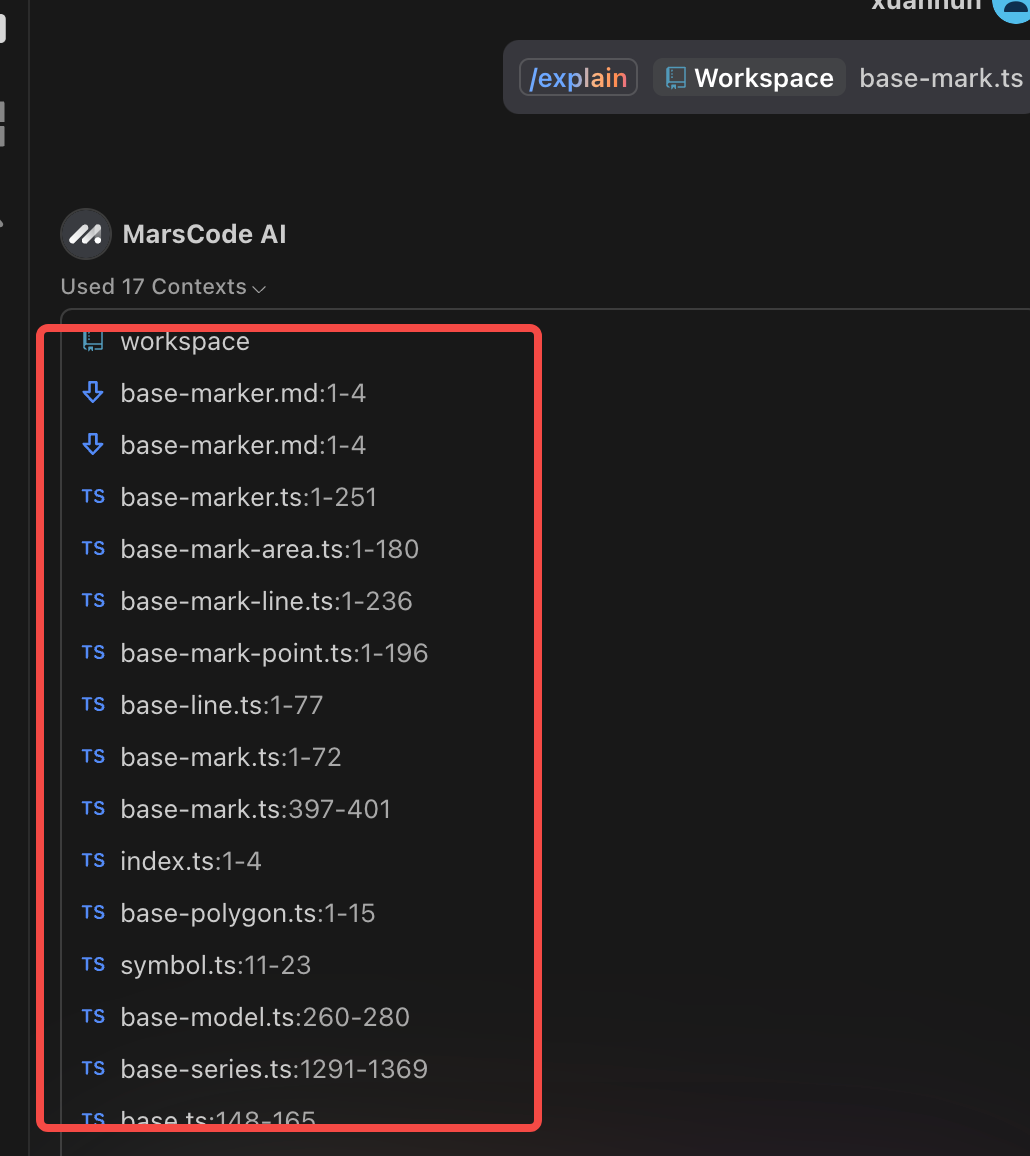
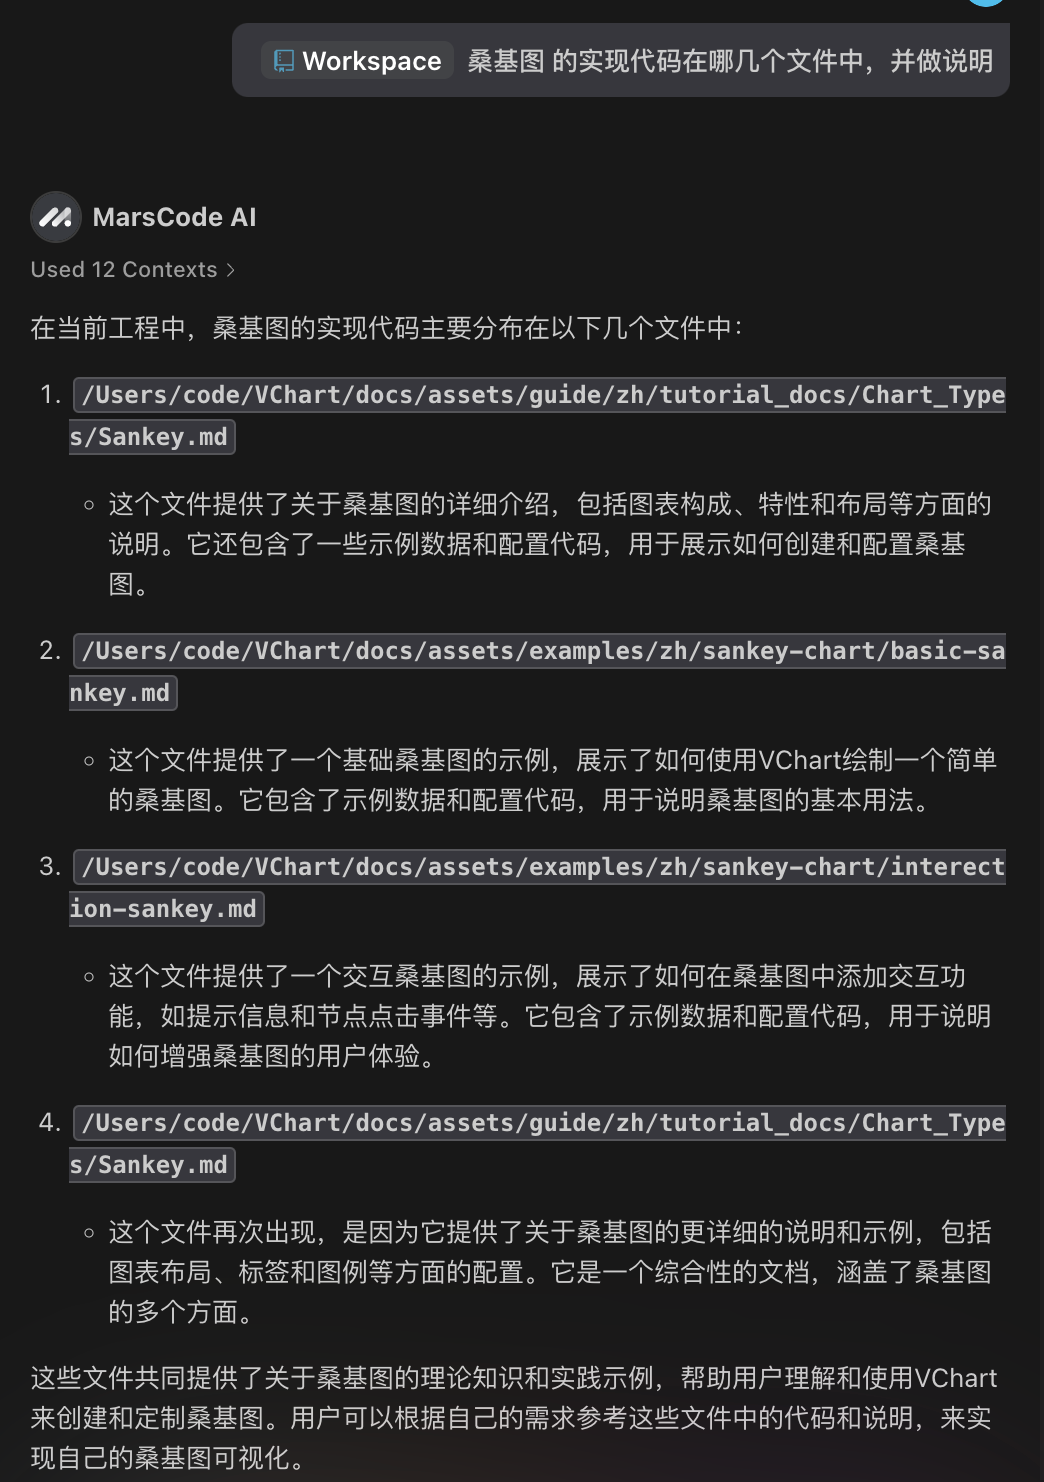
5.4 Content Retrieval
Usually, each of our Q&A in Marscode will provide reference documents, which can provide more context for further analysis.
You can also directly search for files:
Submit Code
After completing the document, push the code to your remote branch. For example:
git commit -a -m "docs: add custom funnel demo and related docs"
VisActor's commit messages follow the Conventional Commits specification, with docs used for demos.
<type>[optional scope]: <description>
Common type values include docs (documentation, log changes), feat (new feature), fix (bug fix), refactor (code refactoring), etc. Please choose according to the actual situation.
Write a concise and accurate description in English before committing.
Before submitting the commit, we will perform a commit lint check. You can check the lint rules for more details.
A common issue is that the remote upstream (@visactor/vrender) has been updated, which may cause conflicts when submitting a Pull Request. Therefore, you can merge the commits from other developers and your commits before submitting the PR. Switch to the develop branch using the following code:
git checkout develop
Pull the latest code from the remote:
git pull upstream develop
Switch back to your development branch:
git checkout docs/add-funnel-demo
Merge the commits from develop into your branch:
git rebase develop
Push the updated code to your branch:
git push origin docs/add-funnel-demo
Submit PR
You can click on the Compare & pull request button on your GitHub repository page.
Or create one through the contribute button:
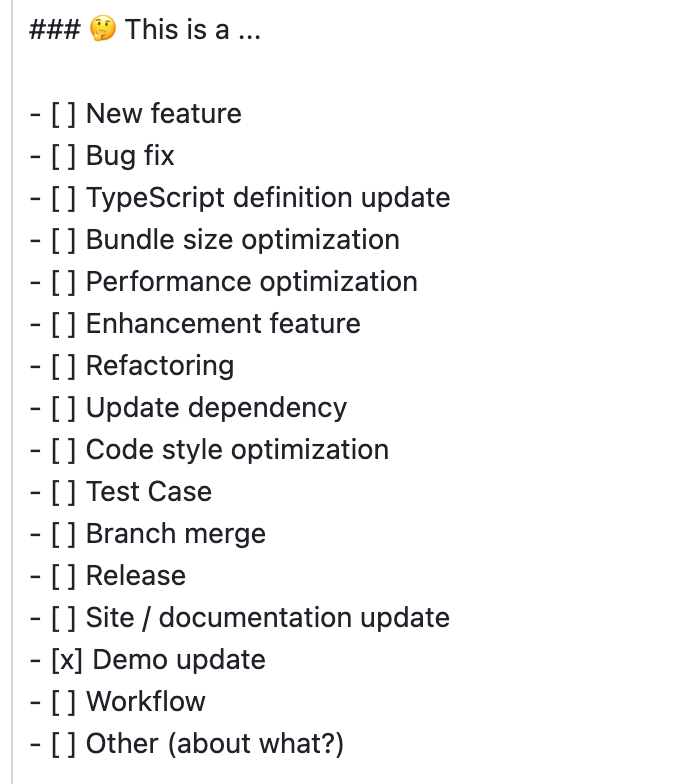
Fill in the modifications for this submission according to the template:
Check the type of modification
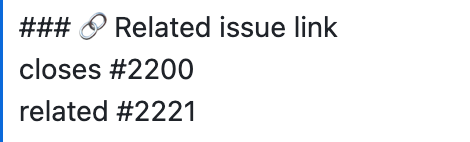
Fill in the associated issue
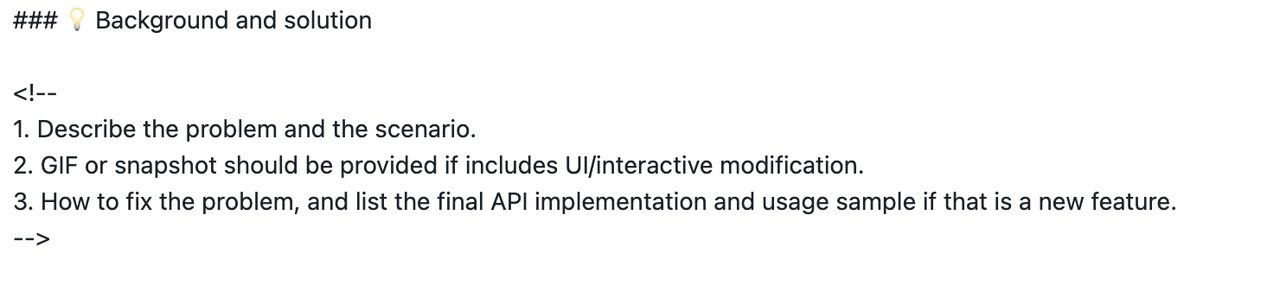
If there are complex changes, explain the background and solution
After filling in the relevant information, click on Create pull request to submit.
The administrator will review the PR and decide whether to approve it. If it is not approved, you will need to make modifications and resubmit.